Taking Screenshots in Chrome
What a screenshot is, hopefully, doesn’t need explaining. There are many ways and tools for taking website screenshots in Chrome, but we’ll focus on three very different ones. Each of the methods described below implies that you can take a screenshot of either a visible part or the entire page of a website. You just have to choose the one that suits you best.
How to Take a Screenshot
Developer Tools
Not the most convenient way, but available in Chrome “out of the box”.
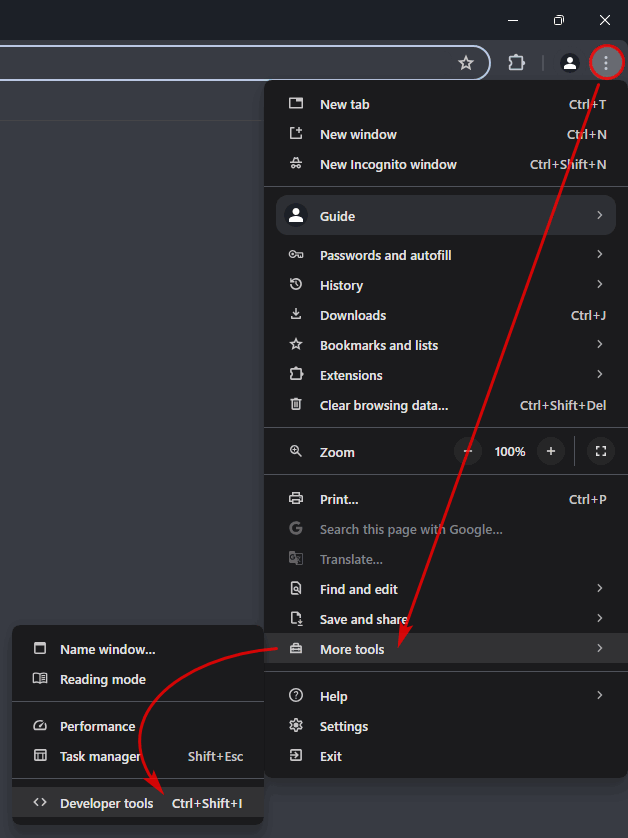
- Open “Developer tools” using one of the three methods:
- F12 or Ctrl+Shift+I
- menu → “More tools” → “Developer tools”
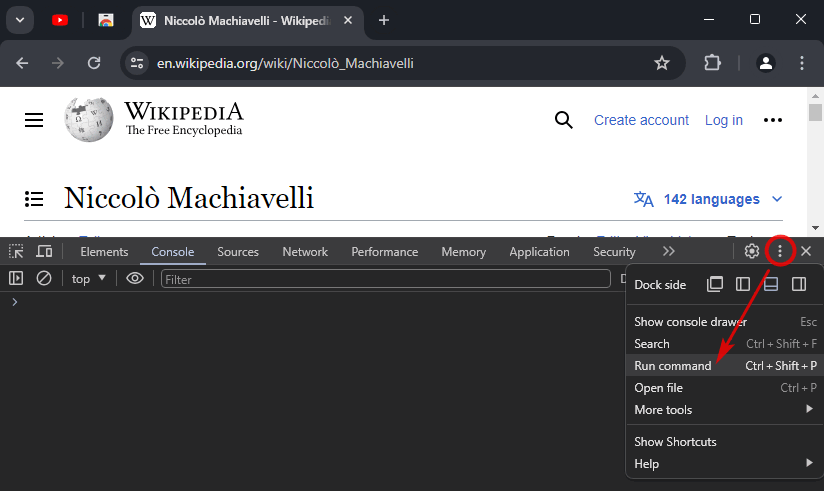
- To launch the “Command menu”, use:
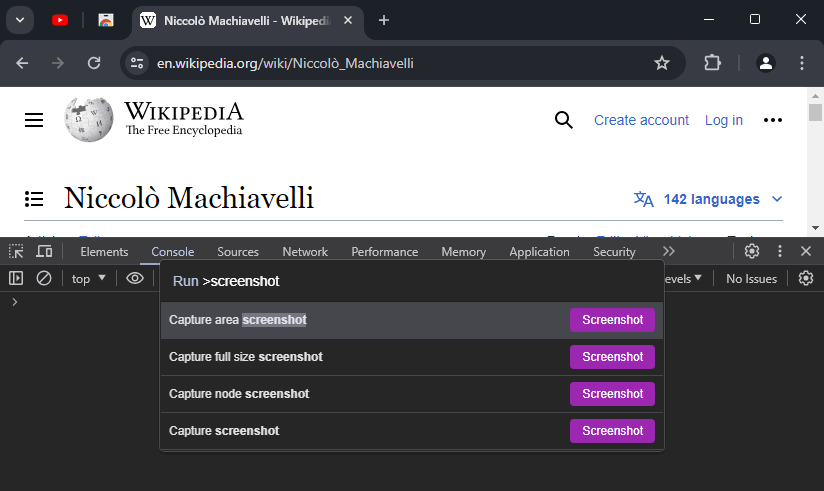
- In the search box, type “screenshot”, where you will have access to 4 options for capturing a page:
Capture area screenshot– use the cursor to select a rectangular screen areaCapture full size screenshot– captures an entire length of the pageCapture node screenshot– in the “Elements” tab, you can select any part of a page to captureCapture screenshot– captures only a visible part of the webpage
Windows Application
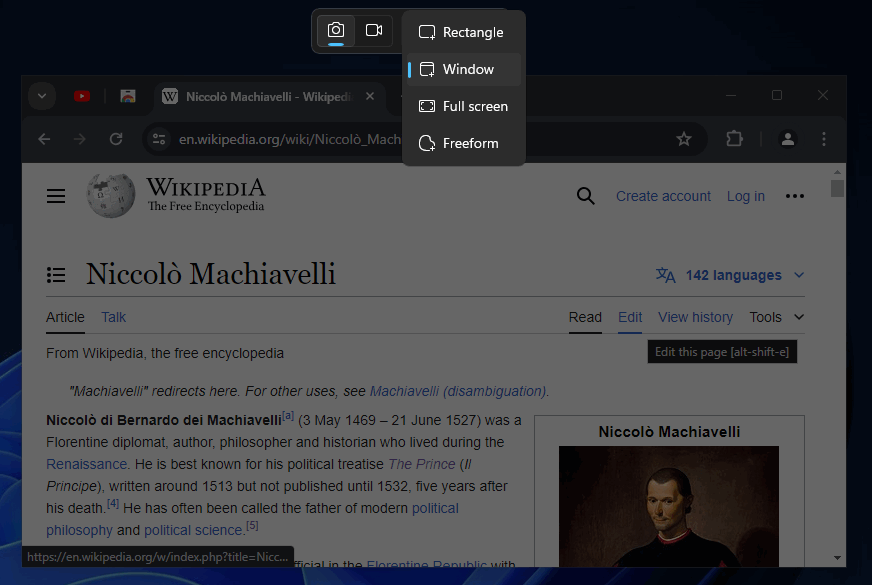
In Windows 11 and 10 (from version 1809), there is an excellent tool for taking screenshots of both window interfaces and arbitrary forms. It’s called Snip & Sketch. To get started:
Extension
There are dozens of extensions for taking screenshots in Chrome, both from well-known thematic services and from individual enthusiast users. We provide a link to their convenient search in the Web Store, as well as consider one of them for example, namely Scrnli. We won’t dwell on installing the extension, we’ll just look at the main features of its functionality.
Creating a Page Snapshot
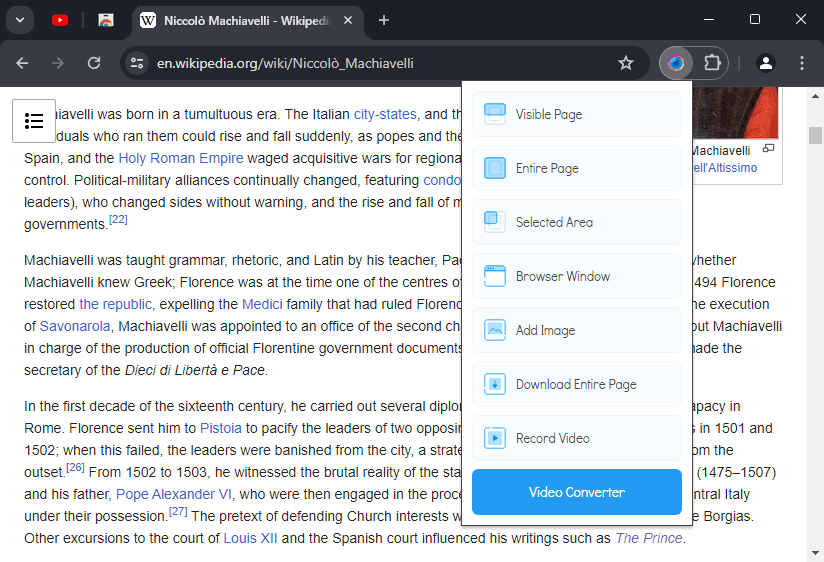
- Click on the extension’s quick access icon in the top right corner, the first 4 items from the list are of interest to us:
Visible PageEntire PageSelected AreaBrowser Window
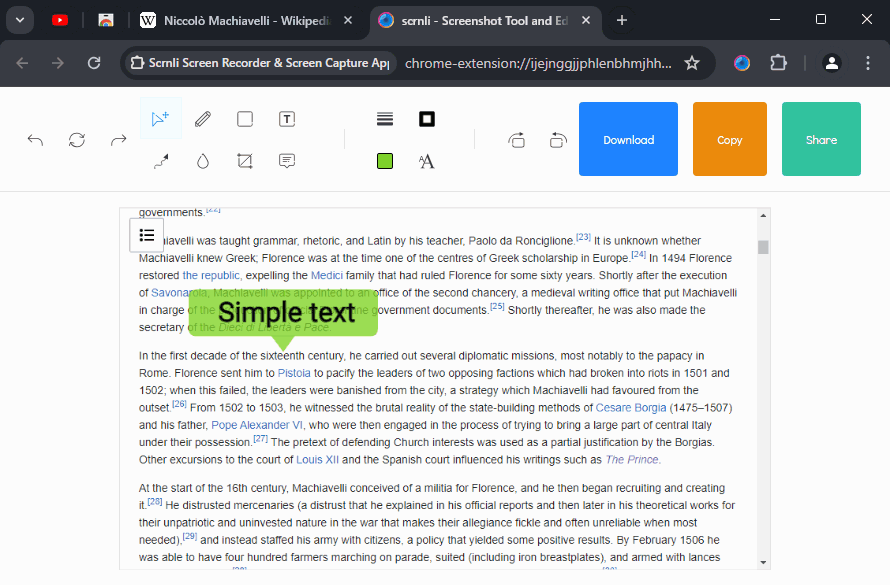
- After selecting the desired screenshot creation option, the extension opens a taken screenshot in its editor, where you can:
- save the frame as a PNG image or PDF file using the “Download” button
- copy the image to the clipboard via the “Copy” button for subsequent pasting into any other graphics editor
- add text, lines, arrows, retouching, etc. using the toolbar at the top left
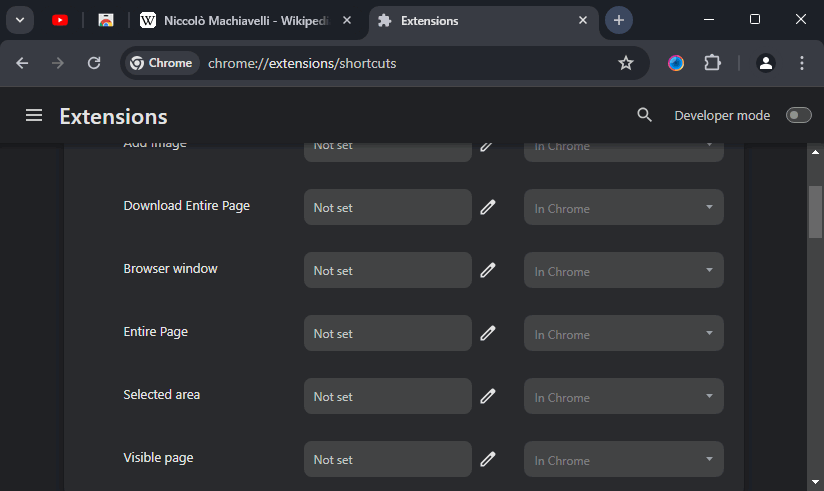
- If you liked the extension, we also recommend paying attention to the set of hotkeys. You can assign them yourself at: