Sync in Google Chrome
17.08.2020
28.04.2024
The synchronization mechanism in Google Chrome can be useful for several reasons – an up-to-date copy of your bookmarks, settings, history will be stored in the “cloud” in case of program reinstallation or system disk failure. Not to mention the banal possibility of convenient work in a single profile simultaneously on several types of devices. To start using this Chrome feature, just log in to your Google account and enable synchronization, but let’s take it step by step.
How to enable synchronization
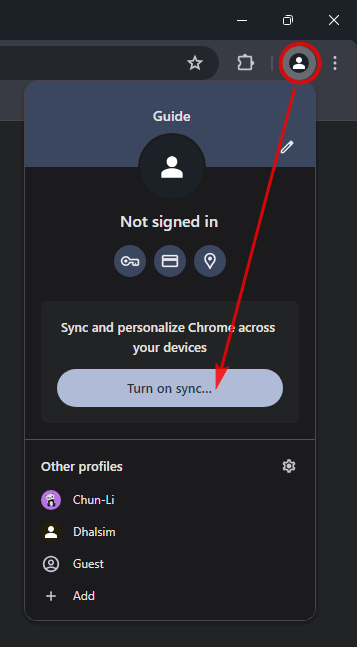
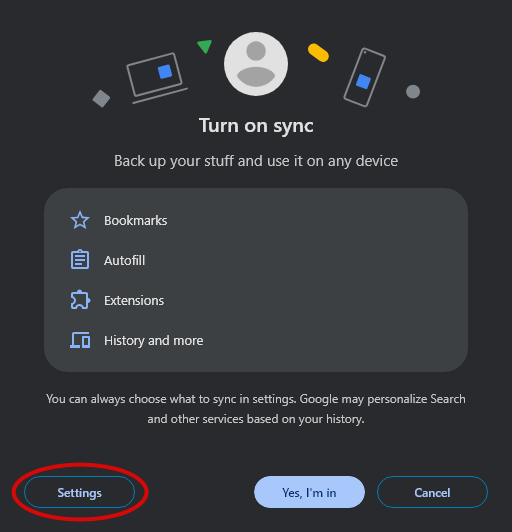
- Click on the profile icon in the top right corner of the program and then on the “Turn on sync…” button:
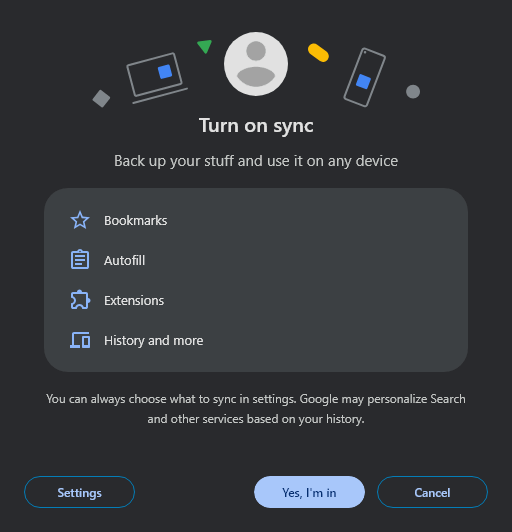
- If you are already logged in to your Google account, the request window will open immediately
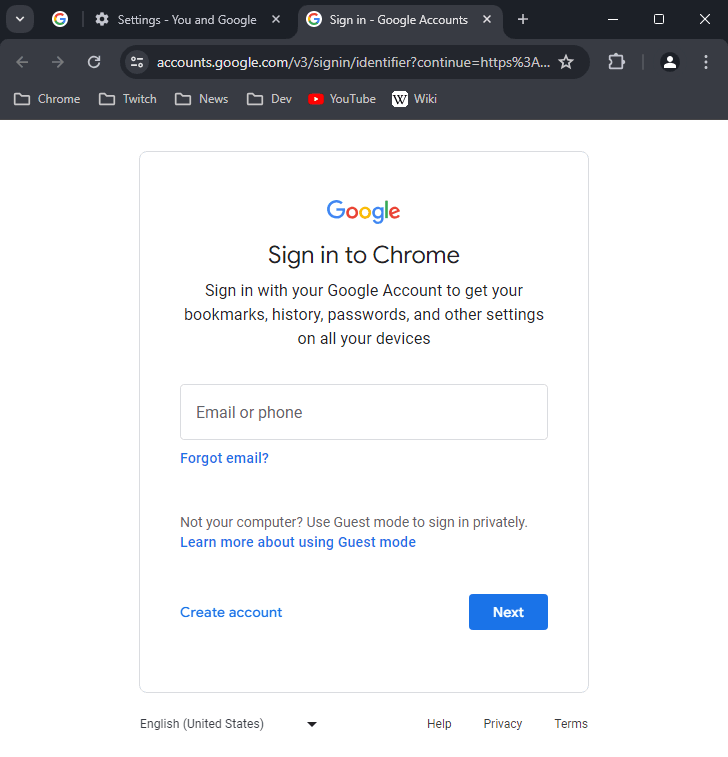
- If not, first you shoud go through the standard authorization form
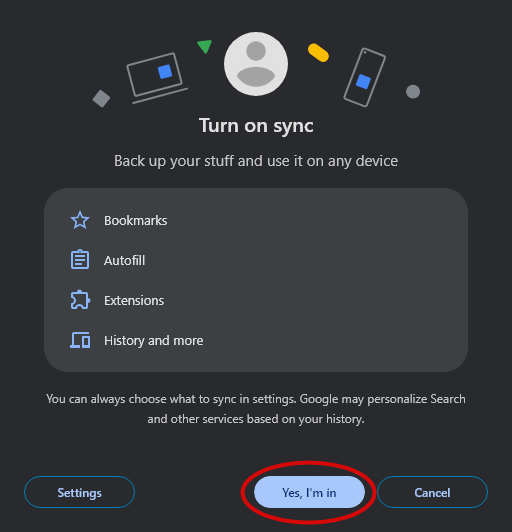
- If you know what you’re doing, you can right away click “Yes, I’m in” and synchronization in Chrome will be enabled immediately with default settings
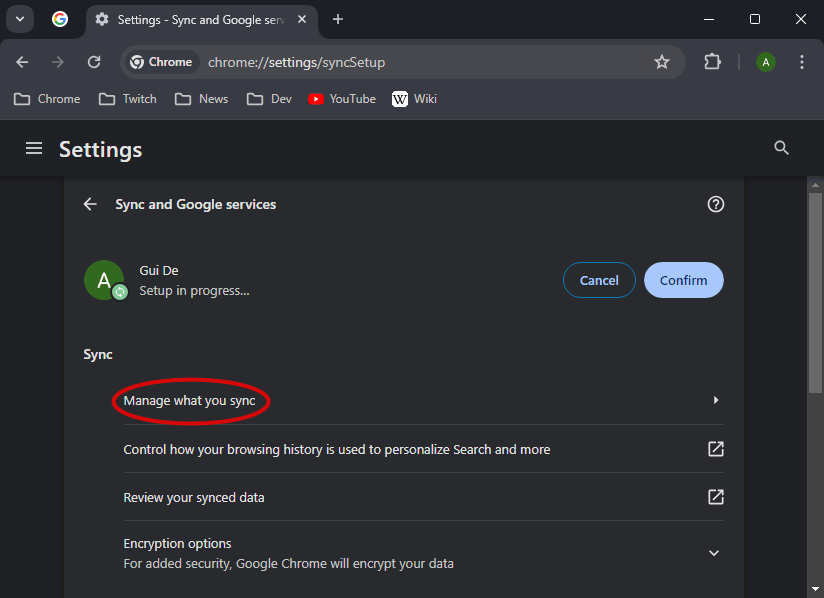
- However, we recommend:
- first go to “Settings”
- via the link chrome://settings/syncSetup
- then to the “Manage what you sync” section
- via the link chrome://settings/syncSetup/advanced
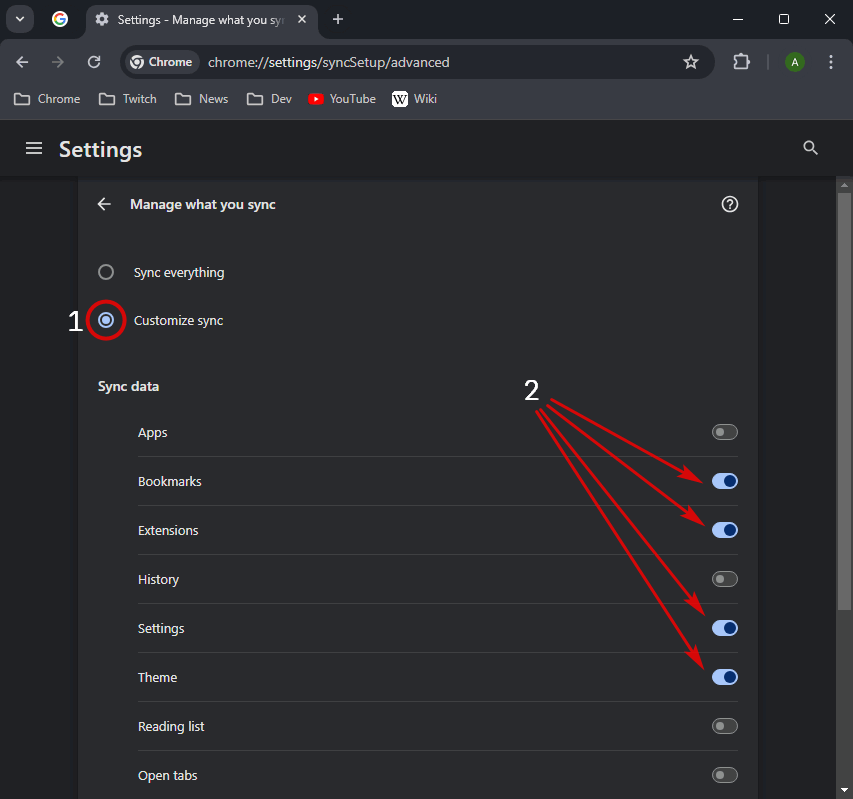
- instead of “Sync everything”, choose “Customize sync”
- carefully select the necessary items for the data that will be stored in the “cloud”
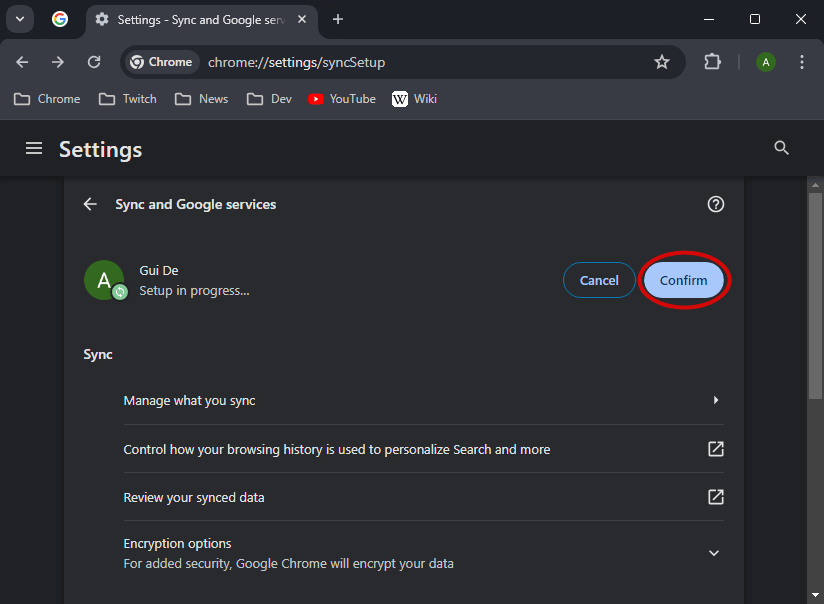
- go back (to chrome://settings/syncSetup) and click “Confirm”
- first go to “Settings”
How to disable synchronization
- Go to Chrome settings in one of 2 ways:
- via the internal link chrome://settings/
- through the menu → “Settings”
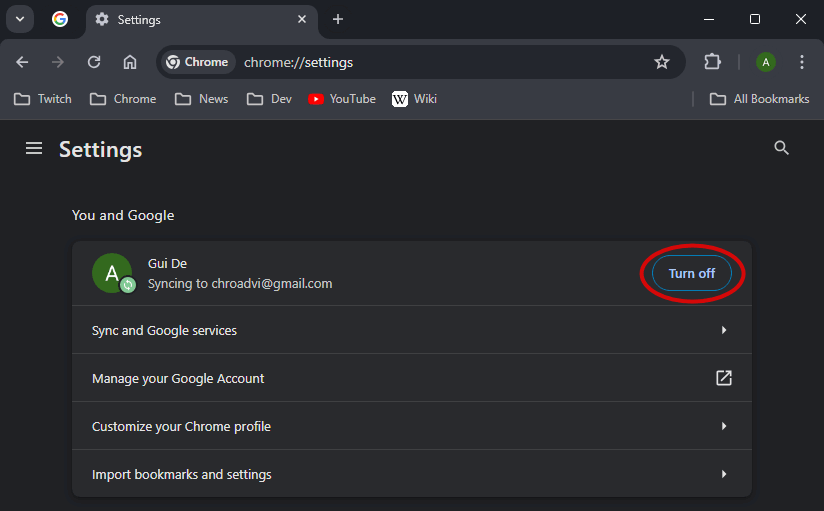
- At the top of the window, in the “You and Google” section, click the “Turn off” button
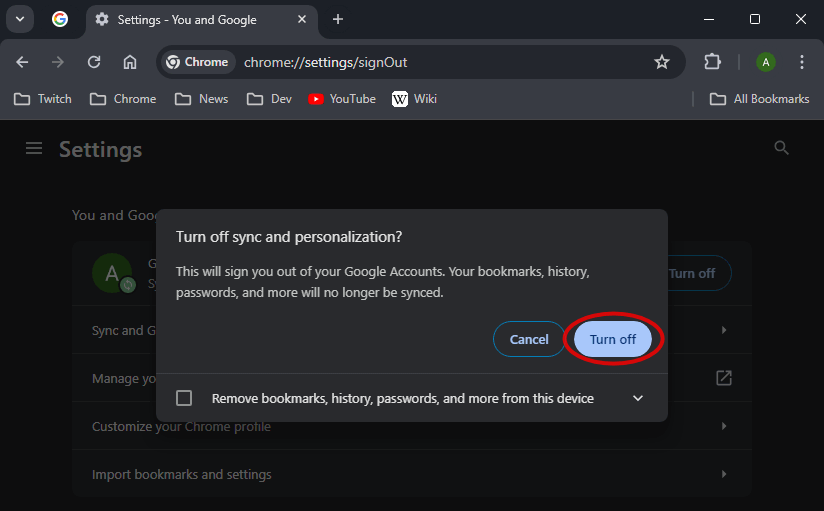
- Chrome will ask you to confirm the operation. Here, if you check the box, you can delete the local browser data, copies of which will remain on the Google server.
- If everything is correct, just click “Turn off” again
Removing data from the cloud
To view or delete synchronized Chrome data stored on the cloud server, you need to:
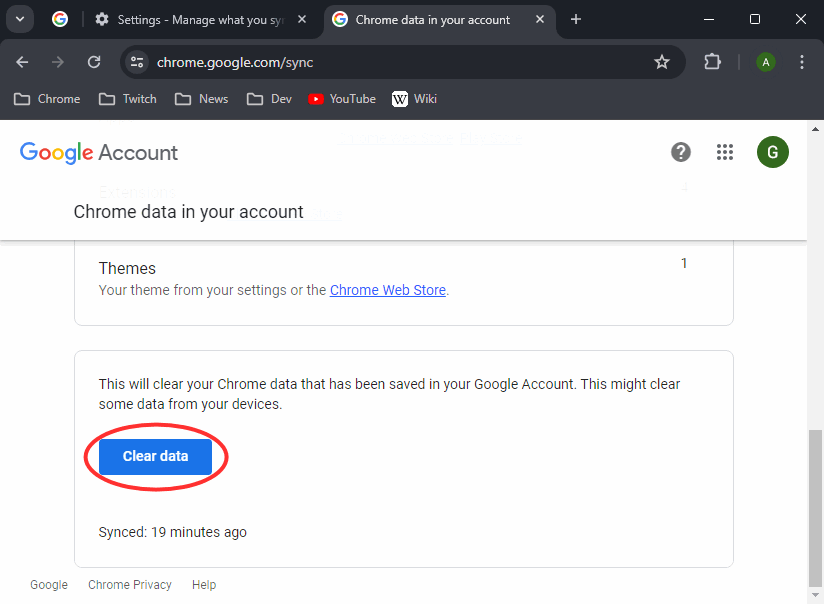
- Go to https://chrome.google.com/sync
- Log in to your Google account if you haven’t already done so
- To clear all information, simply scroll down to the bottom of the page and click the “Clear data” button
Leave a comment